Live Chat
Configure the chat widget, pre-chat forms, offline messaging, and concierge settings to provide real-time support on your storefront. Proper configuration ensures quick communication, improved customer satisfaction, and a more personal support experience.
Basic information
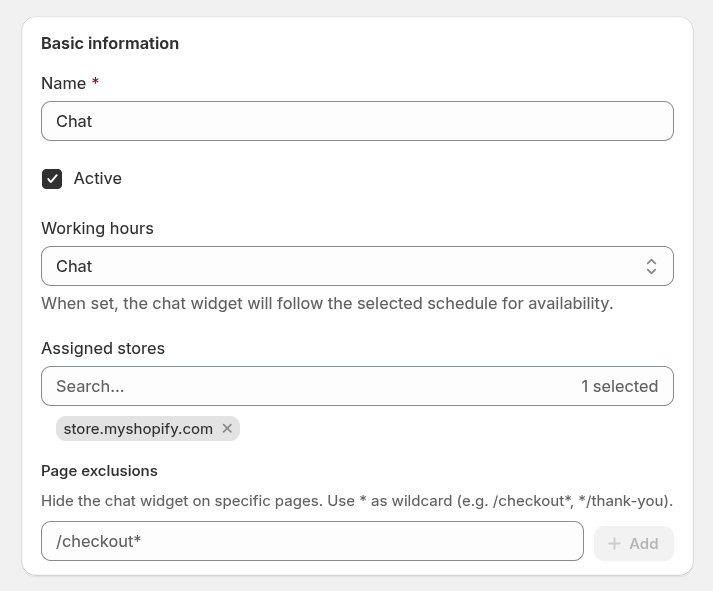
- Name: the internal name of your chat configuration.
- Active: toggle this setting to enable or disable the live chat widget on your storefront.
- Working Hours: select one of the predefined working hours schedules. If set to None, the chat will be available whenever at least one support agent is online.
- Assigned Stores: choose which Shopify stores or sales channels should display the live chat. This is useful if you operate multiple storefronts and need different configurations.
- Page Exclusions: hide the chat widget on specific pages. Use
*as a wildcard (e.g./checkout*,*/thank-you).
Chat window settings
Configure the appearance and behavior of the expanded chat window your customers will interact with.
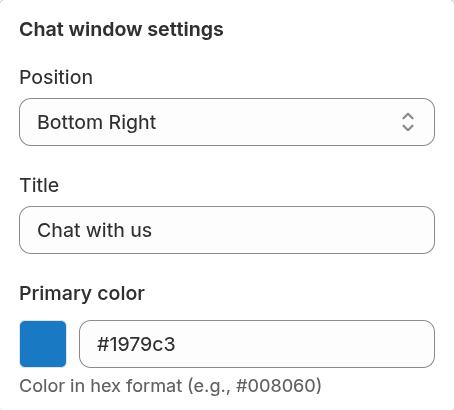
- Position: choose where the chat window appears on the page (e.g., bottom-right). Select a position that fits your storefront’s layout without blocking important content.
- Title: the heading displayed at the top of the chat window. A clear and friendly title sets expectations and welcomes the visitor.
- Primary Color: define the header color in hex format. Use your brand’s primary color to maintain a consistent visual identity.
Chat button settings
Customize the minimized button displayed before the chat window opens.
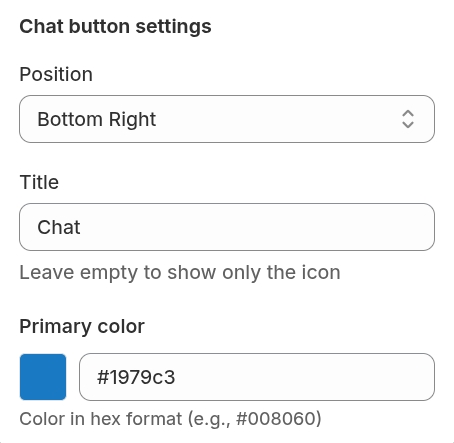
- Position: choose where the minimized chat button appears on the screen.
- Title: text shown on the chat button. If left empty, only the chat icon appears — ideal for sleek or minimal designs.
- Primary Color: choose a hex color for the button. Should be visually distinct and match your brand styling.
Pre-chat form
Collect helpful visitor details before a chat begins.
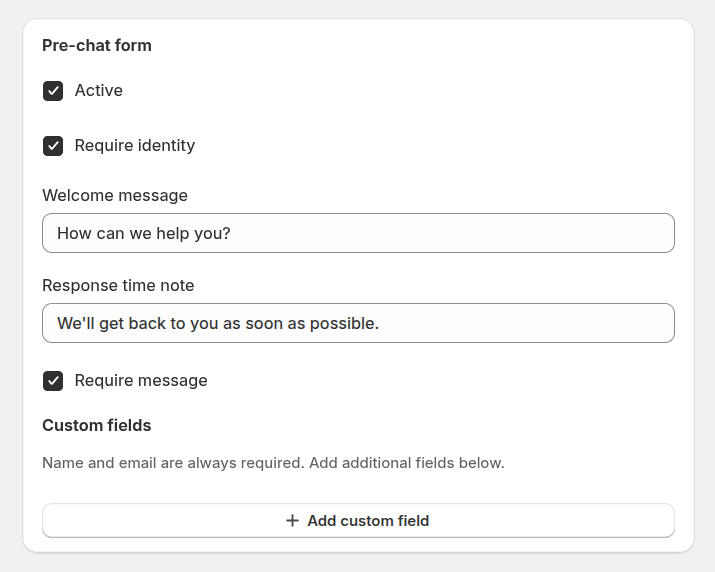
- Active: enable or disable the pre-chat form entirely.
- Require identity: when enabled, customers must provide their name and email before starting a chat. This helps agents personalize the conversation and ensures the system can track history.
- Welcome message: a greeting shown before the visitor starts chatting, often used to set expectations or encourage specific questions.
- Response time note: a short message displayed to customers that informs them about the expected response time from the support team.
- Require message: forces the visitor to enter their initial question before starting the chat, giving your team context upfront.
- Custom fields: add additional fields to collect specific information from visitors before the chat starts.
Offline form
Displayed when no agents are available.
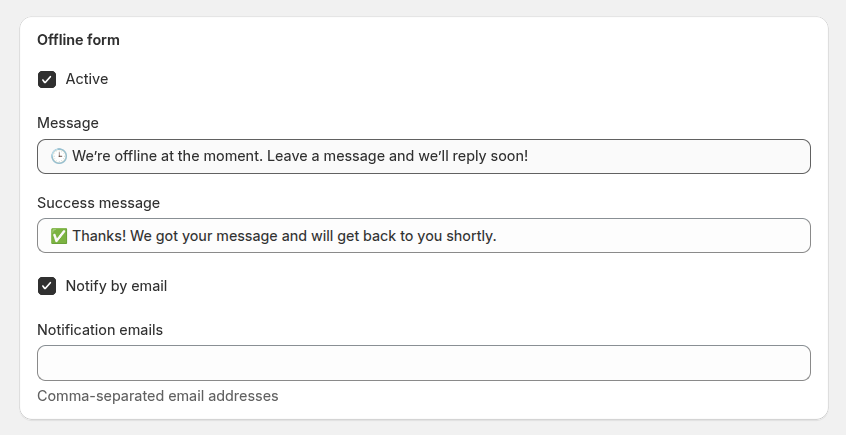
- Active: enable or disable the offline contact form.
- Message: the message shown when chat is offline. Inform customers about your availability and response time.
- Success message: confirmation shown after the customer submits the offline form, reassuring them their request has been received.
- Notification emails: list of email addresses (comma-separated) that should receive offline chat notifications. Use this to ensure your support team does not miss messages submitted outside business hours.
Concierge settings
Personalize the agent information displayed inside the chat widget.
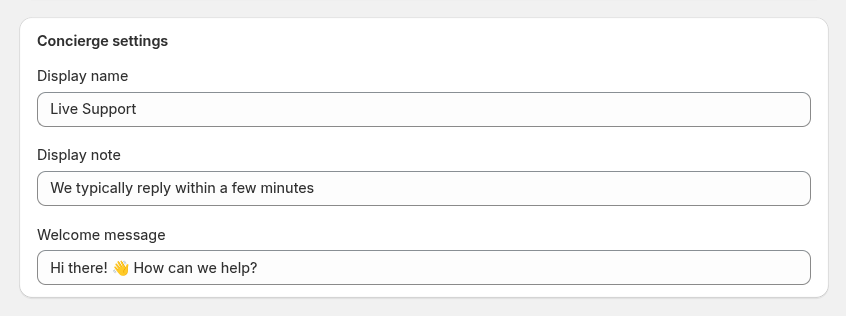
- Display name: the name shown to customers in chat (e.g., “Live Support”, “Customer Care”, or an agent’s personal name).
- Display note: an optional note shown under the agent name, such as “We typically reply within a few minutes.”
- Welcome message: the first message shown automatically when the chat is opened. Use it to set a warm tone and tell customers how you can help.